|
|
Arrow Rotation
- Under the title of the program, click
 . .
-
Before creating a project, if there are changes in the previous project, a window will appear:
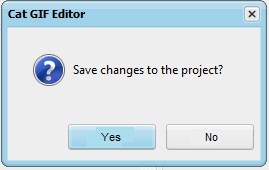
The previous project will be saved before the next one is created.
- On the "Editing" tab at the top, click
 . .
-
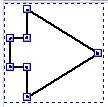
An arrow will appear on the frame image:
-
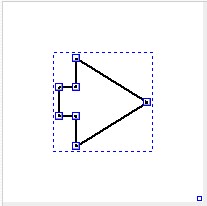
Drag the arrow to the center:
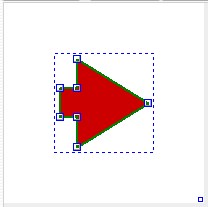
- To the right of the frame image, on the "Animation" tab, in the "Number of Frames" field, enter "20" and press the "Enter" key.
- On the "Color and Border" tab, click
 to the right of "Fill" and set it to red. to the right of "Fill" and set it to red.
- Click to the right of "Border" and set it to green.
-
The image of the frame will take the form:
- At the bottom of the program window, in the "Go to Frame #" field, enter "20" and press the "Enter" key.
- On the "Color and Border" tab, click to the right of "Fill" and set it to green.
- Click to the right of "Border" and set it to red.
-
The image of the frame will take the form:

- On the "Rotation" tab, in the "Angle" field, enter "360" and press the "Enter" key.
- Click
 at the bottom of the program. at the bottom of the program.
-
On the "Preview" tab, click  : :

- View and click
 . .
- Under the title of the program, click
 and set the GIF file. and set the GIF file.
- Click
 and set the project file. and set the project file.
|