|
|
Card
- Under the title of the program, click
 . .
-
Before creating a project, if there are changes in the previous project, a window will appear:
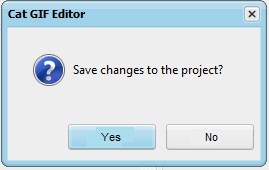
The previous project will be saved before the next one is created.
- On the "Options" tab, below "JPG, PNG, BMP File" click
 and select "My Documents\CatGIFEditor\Lessons\imagesen/Back.jpg". and select "My Documents\CatGIFEditor\Lessons\imagesen/Back.jpg".
-
On the "Editing" tab at the top, click  : :
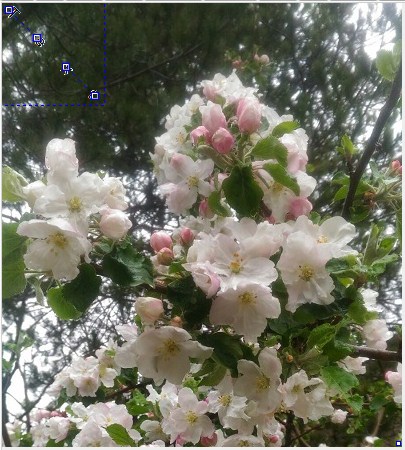
- To the right of the frame image, on the "Text" tab, in the multiline field, enter "Happy Birthday!".
- Click
 and set the size to "24". and set the size to "24".
- Select "Transparent" from the "Outline" drop-down list.
- On the "Color and Border" tab, click
 to the right of "Border" and set it to blue. to the right of "Border" and set it to blue.
-
Drag the "Bezier Text" shape to the middle between the left and right edges of the frame image:
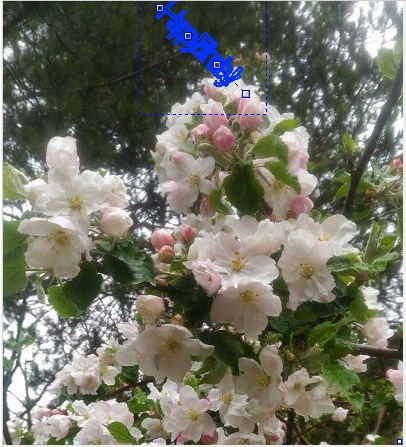
-
Drag the three left nodes to the level of the rightmost one:
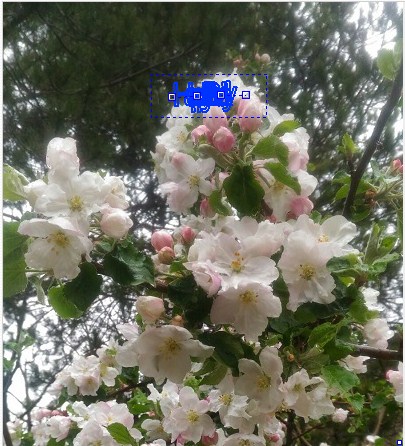
-
On the "Editing" tab at the top, click  and select "My Documents\CatGIFEditor\Lessons\imagesen/Text.png": and select "My Documents\CatGIFEditor\Lessons\imagesen/Text.png":
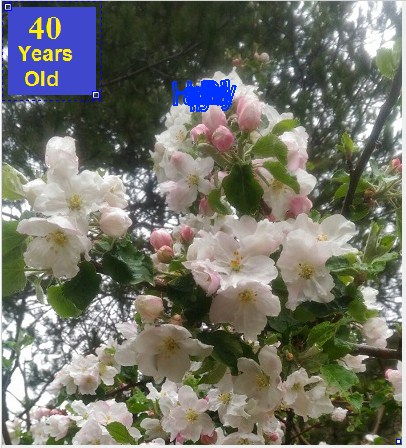
- Drag "Image" shape to the center of the image frame.
-
To the right of the frame image, on the "Image" tab, check "Transparent Background":
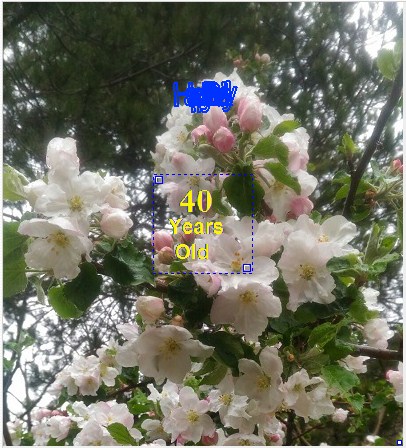
-
On the "Editing" tab at the top, click and select "My Documents\CatGIFEditor\Lessons\imagesen/Heart.gif":
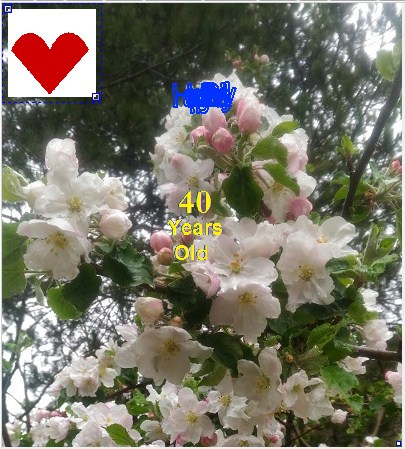
- Drag the heart to the bottom left corner of the frame image.
-
To the right of the frame image, on the "Image" tab, check "Transparent Background":
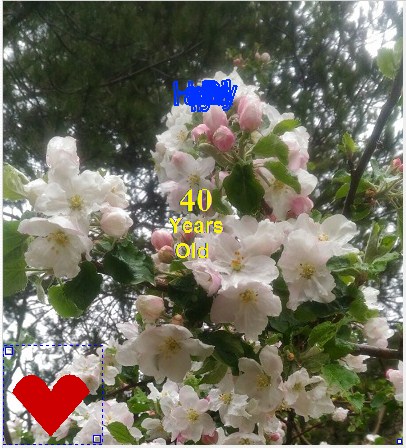
- On the "Editing" tab at the top, click
 and and  . .
-
Drag the heart to the bottom right corner of the frame image:
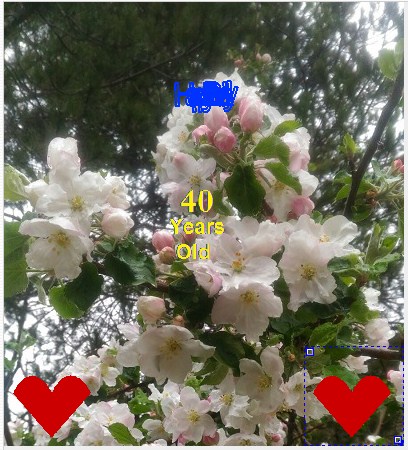
- To the right of the frame image, on the "Animation" tab, in the "Number of Frames" field, enter "40" and press the "Enter" key.
- At the bottom of the program window, in the "Go to Frame #" field, enter "20" and press the "Enter" key.
-
Click the "Bezier Text" shape. Drag the nodes like this:
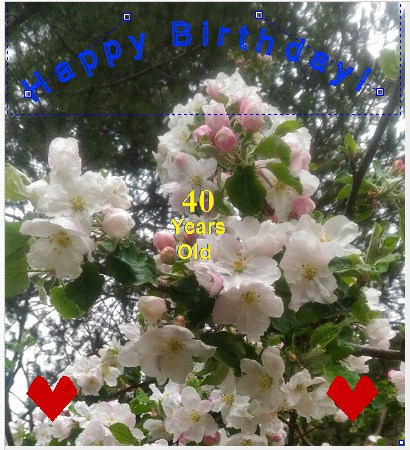
-
Drag the hearts to each other:
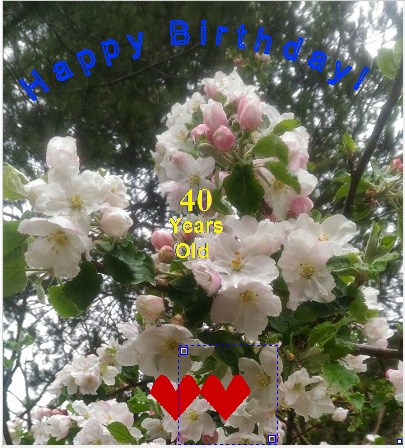
- At the bottom of the program window, in the "Go to Frame #" field, enter "40" and press the "Enter" key.
- Click the shape labeled "40 years old".
- To the right of the frame image, on the "Rotation" tab, in the "Angle" field, enter "360" and press the "Enter" key.
-
Drag the hearts to their original state:
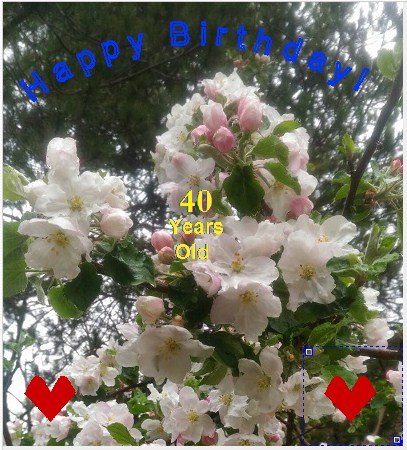
- Click
 at the bottom of the program. at the bottom of the program.
-
On the "Preview" tab, click  : :
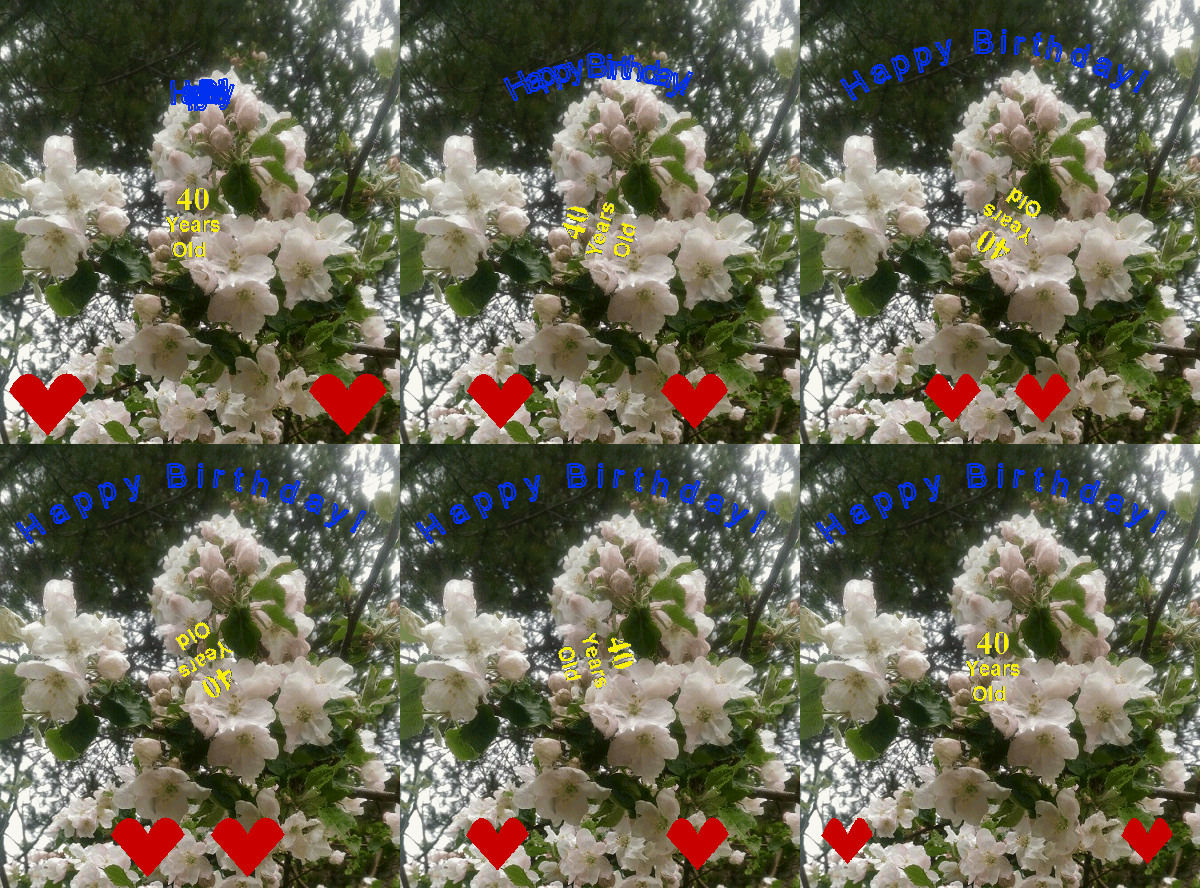
- View and click
 . .
- Under the title of the program, click
 and set the GIF file. and set the GIF file.
- Click
 and set the project file. and set the project file.
|