|
|
Heart
Heart
- Under the title of the program, click
 . .
-
Before creating a project, if there are changes in the previous project, a window will appear:
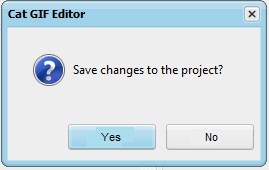
The previous project will be saved before the next one is created.
- On the "Editing" tab at the top, click
 . .
- To the right of the frame image on the "Color and Border" tab, click
 to the right of "Fill" and set it to red. to the right of "Fill" and set it to red.
- Click
 to the right of "Border" and set it to red. to the right of "Border" and set it to red.
- On the "Editing" tab at the top, click
 . .
-
A line will appear on the frame image:
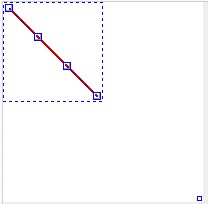
-
Drag the topmost node to the level of the bottommost:
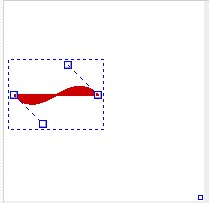
-
Drag the second and third nodes to the middle between the first, fourth and top edges of the frame image:
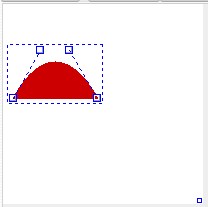
- On the "Editing" tab at the top, click
 and and  . .
-
Drag the "Bezier Figure" to the right:
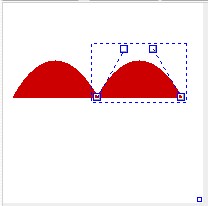
- On the "Editing" tab at the top, click
 . .
-
A pentagon will appear on the frame image:
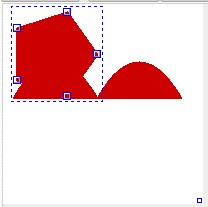
- To the right of the frame image, on the "Coordinates" tab, in the "Amount" field, enter "3" and press the "Enter" key. The pentagon becomes a triangle.
-
Drag the triangle nodes like so:
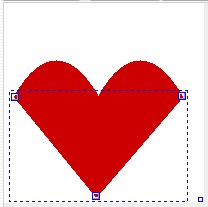
- To the right of the frame image, on the "Animation" tab, in the "Number of Frames" field, enter "20" and press the "Enter" key.
- At the bottom of the program window, in the "Go to Frame #" field, enter "20" and press the "Enter" key.
- Click the first "Bezier Figure" and on the "Editing" tab at the top, click
 . .
-
Drag the leftmost node to the right:
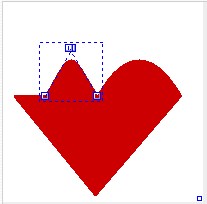
- Click the second "Bezier Figure" and on the "Editing" tab at the top, click
 . .
-
Drag the rightmost node to the left:
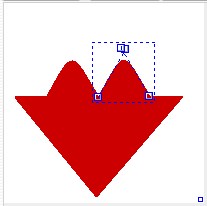
- Click the triangle and on the "Editing" tab at the top, click
 . .
-
Drag the top left node to the right, the top right node to the left, and the bottom node to the top:
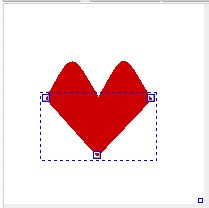
- Click
 at the bottom of the program. at the bottom of the program.
-
On the "Preview" tab, click  : :

- View and click
 . .
- Under the title of the program, click
 and set the GIF file. and set the GIF file.
- Click
 and set the project file. and set the project file.
|